Problem solving and repairs
Healing tension-posing cuts
- Cut the tension on the outer bend where the wool is tight to release it .
- Trim any bunched wool from the inside of the bend if needed to free up pressure.
- Use pins (spare felting needles work well) to help hold the pose in place.
- Fill the cut with loose core wool and poke it in place. Continue adding core wool until the area is filled.
- Place a thin, gauzy layer of core wool over the cut area. Poke it in from the outer edges first and then in the middle. This creates tension in the wool that helps pull the cut edges together.
- Check the cut for firmness. If it's too soft, add more layers of gauzy wool over just this area, and felt it in.
- Remove the pins and check the pose for firmness.
- The pose should hold its position even when the model is picked up and put down. Add additional wool and poke the area further if needed. You may also need to poke the inner area of the bend.
Firming up soft spots and parts
Bodies
- Soft spots are soft because there isn't enough wool compared to the surrounding area.
- Start by poking the area firmer using a large (36g) felting needle. You want to get firmness deep into the softness.
- Add core wool into the area a little at a time and poke it in well.
- If the area is large, it can help to felt a thin layer of gauzy wool over the area. Poke it in from the sides first to create tension, and then felt the center.
- Remeasure the body to ensure the fix didn’t change the models profile.
Heads
- The seam around the head can be a challenge to get firm and not distort the features at the same time.
- A good solution is to wrap the head with a thin layer of gauzy wool. Poke it in first by alternating pokes on both sides of the head. This pulls the seam together and distributes fibers around the head.
- Using a thinner needle (38g medium or even a 40g small) can also help. As areas get small and thin, the smaller needles work better to tangle the fibers together.
Ears
- Ears will have a wool “tail” that makes attaching easier.
- Pin the ear to the model spreading the wool tail evenly on the head. Measure to ensure it’s in the proper pl
 ace on all sides.
 - Poke in the tail until firm enough that you can remove the pins and it stays in place.
- Look at the project's reference images and your own photos to see what else is needed to sculpt the ear to the head. It’s likely you will need to thicken the base where it attaches to the head.
Adding and shortening space between two parts (eyes, ears)
Finding that the eyes/ears of your project aren’t spaced correctly can be disheartening. But while the fix is aggressive, it isn’t overly difficult.
Too close together
- Use a sharp, serrated knife (like a steak knife) to carefully saw through the head between the ears (and on down between the eyes if it's the eyes that are too close.
- As you continue to add more wool, measure frequently. Measure not just the part that was off, but the whole head to be sure it isn’t getting too wide.
- Seal the cut by placing a gauzy layer of core wool over the seam and poking it in.
Too far apart
- You need to determine how much the part needs to come together. In this example, we’ll use 6mm.
- Use a sharp, serrated knife (like a steak knife) to carefully saw through the head between the ears (and on down between the eyes if the eyes are the problem) in the middle.
- Lightly squeeze the cut together and measure to see if the cut itself removed the 6mm of wool. If not, cut out wool from both sides of the original cut until it is the width you need.
- Squeeze the cut together and secure it. Try wrapping a rubber band around the part if the pins do not work.
- Measure again to be sure the part is now correct.
- Open the cut slightly and place a thin bit of core wool inside the entire height of the cut. Let it stick out a little. This adds the fresh fibers needed for healing the cut.
- Poke the cut from both sides, first one side and then the other.
- Pull the seam together by placing a thin layer of core wool over the seam and poking it in first from the edges and then from the center. This works well to pull the two sides together and firm up the cut area.
- Repeat the last two steps as needed.
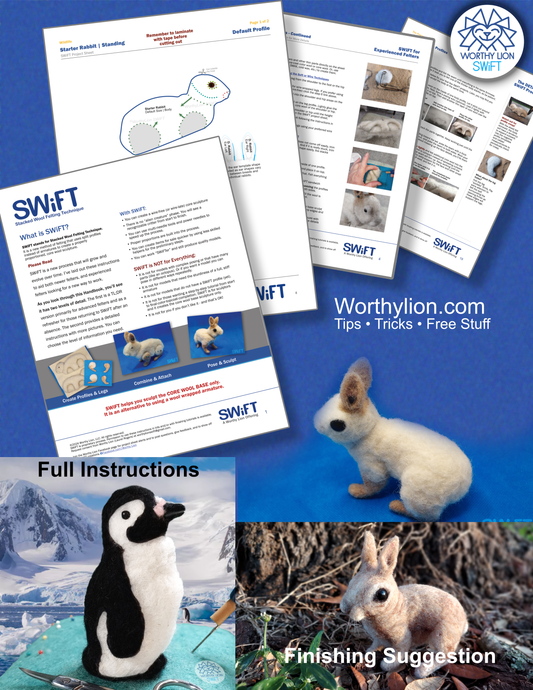
Start Learning the SWiFT Way of Needle Felting
Download the Free SWiFT Handbook and Two Free Project Sheets Today! | USA only. International visitors, please visit http://www.worthylion.etsy.com
-
Free Starter Bundle to Download
Regular price $0.00 USDRegular priceUnit price / per -
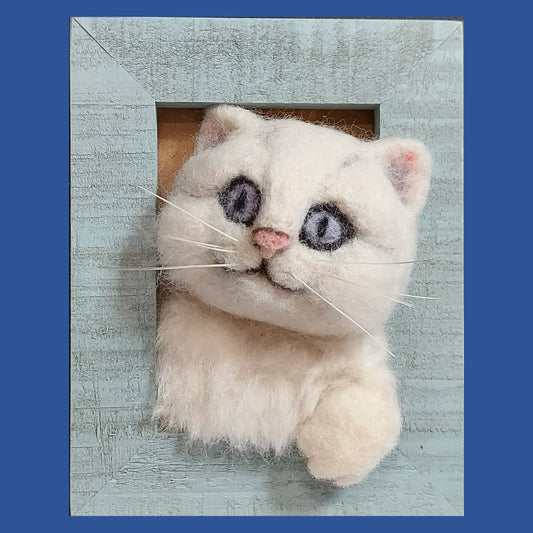
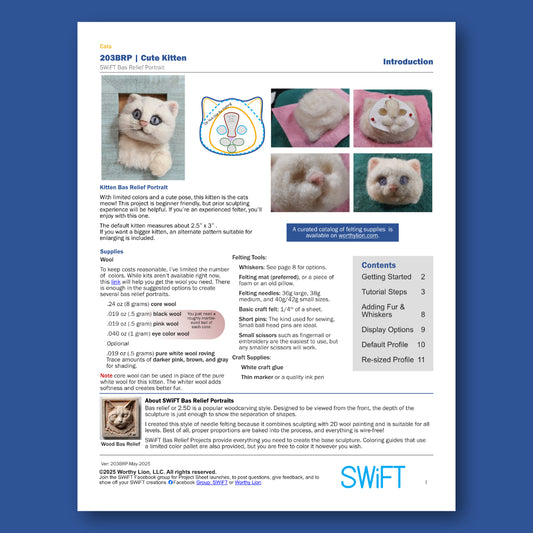
203BRP-B | Cute Kitten
Regular price $5.00 USDRegular priceUnit price / per -
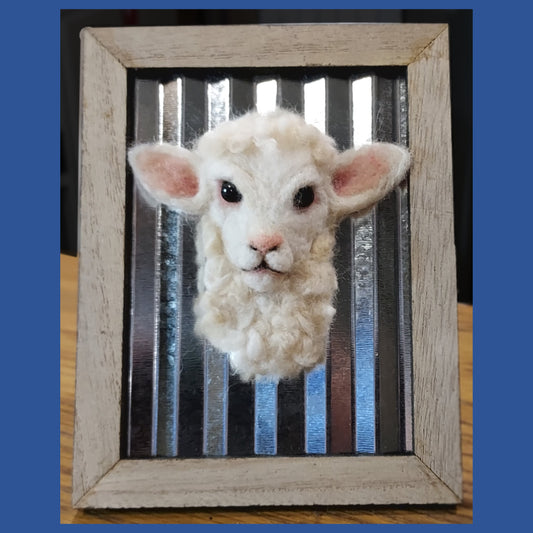
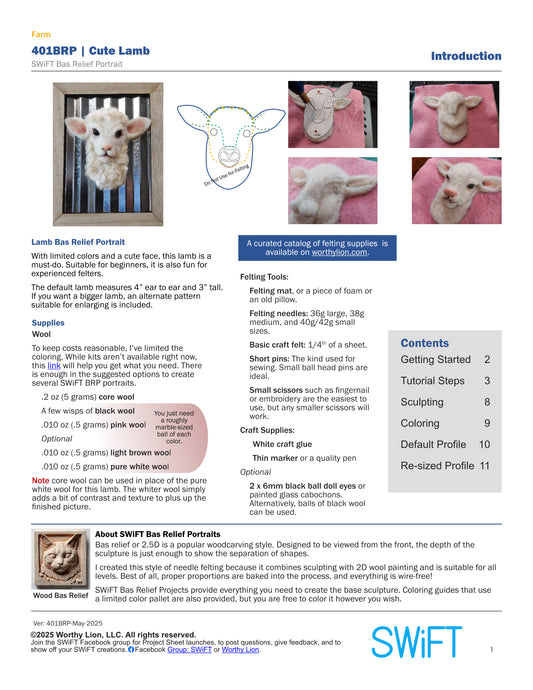
401BRP-B | Cute Lamb
Regular price $5.00 USDRegular priceUnit price / per -
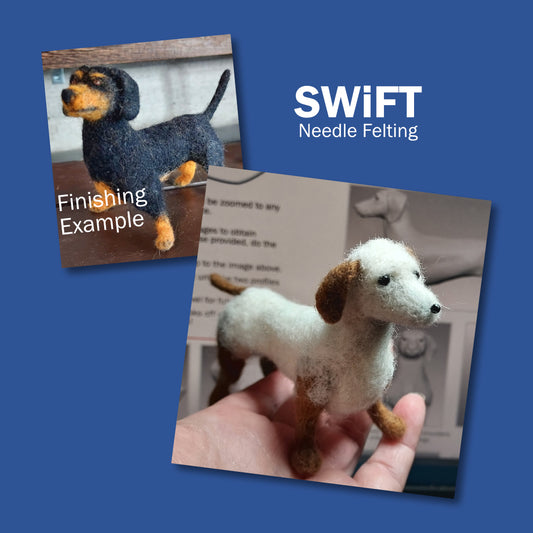
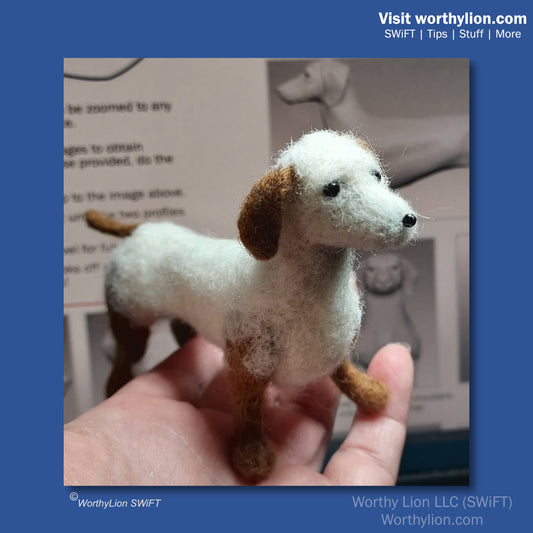
Dog: 118B | Dachshund | Standing
Regular price $5.00 USDRegular priceUnit price / per -
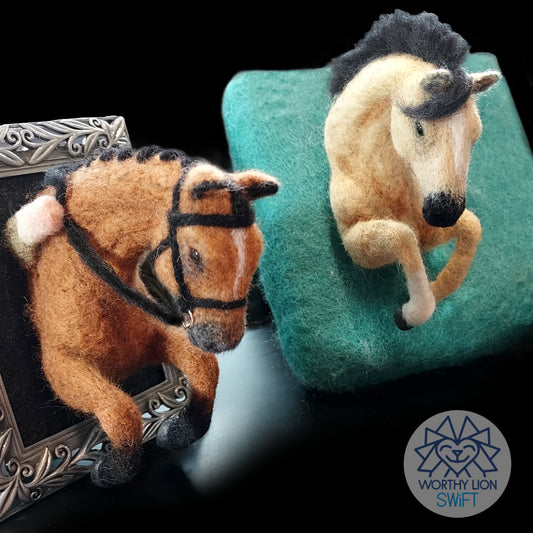
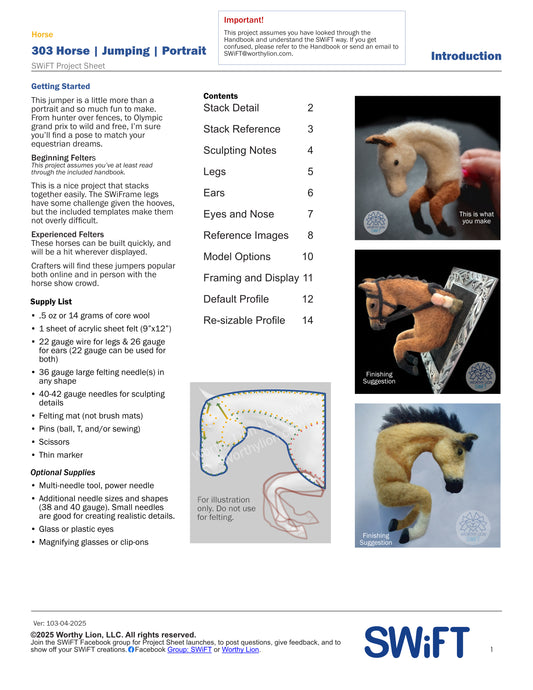
Horse: 303b | Jumping | Portrait
Regular price $5.00 USDRegular priceUnit price / per -
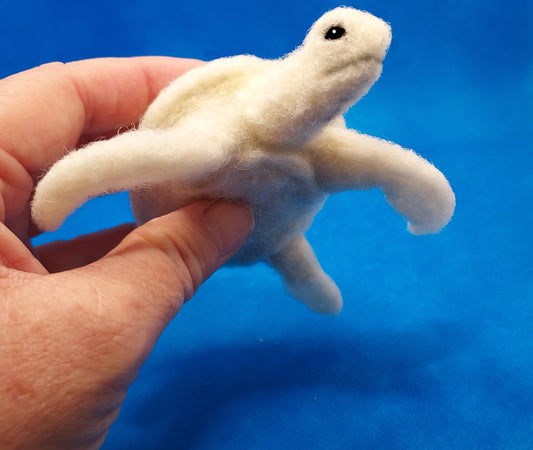
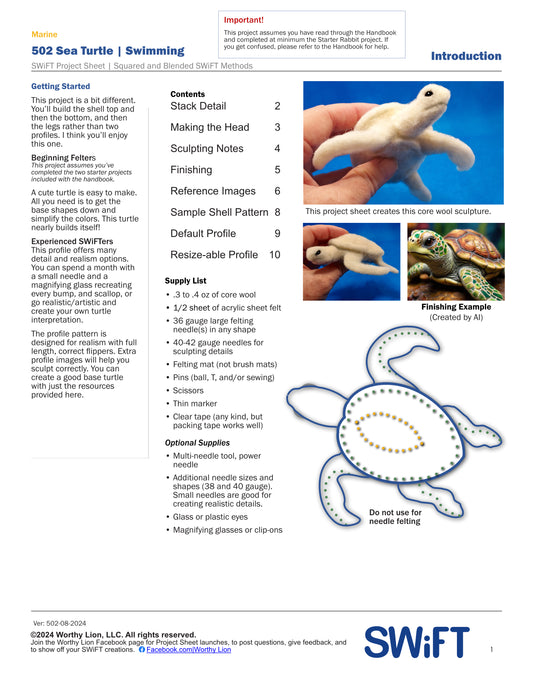
Marine: 512B | Sea Turtle | Swimming
Regular price $5.00 USDRegular priceUnit price / per -
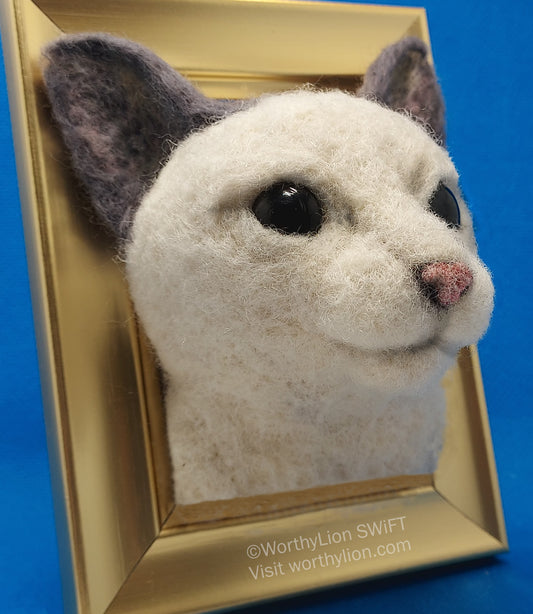
Cat: 201B | Common | Portrait
Regular price $5.00 USDRegular priceUnit price / per -
Dog: 101B | Lab-type | Pre-posed | Sitting
Regular price $5.00 USDRegular priceUnit price / per -
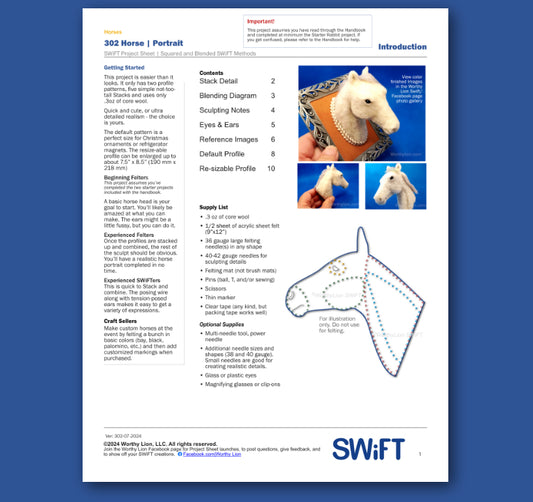
Horse: 302B | Portrait
Regular price $5.00 USDRegular priceUnit price / per -
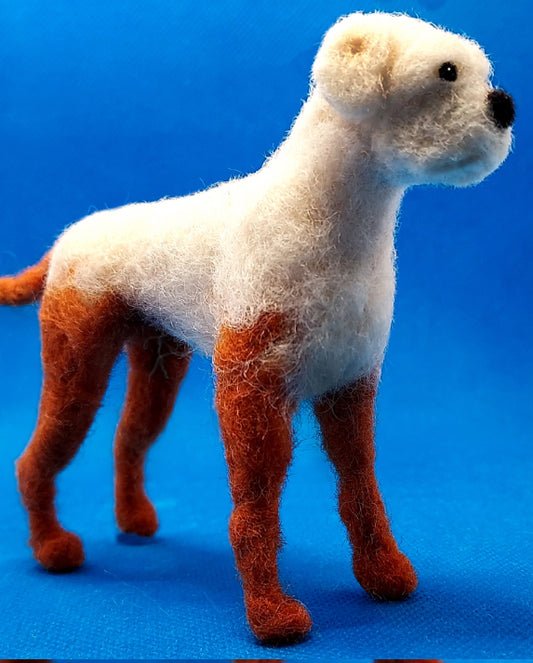
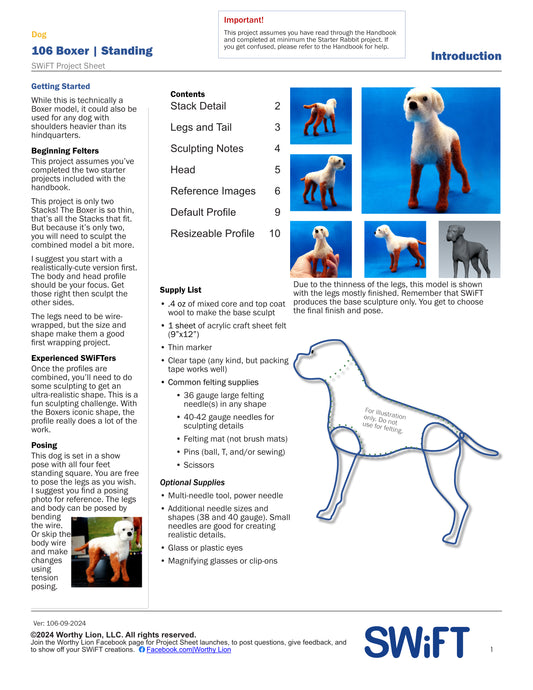
Dog: 116B | Boxer | Standing
Regular price $5.00 USDRegular priceUnit price / per
